Tips for Setting Up a New Telescope
A new Telescope needs to be properly setup to perform successfully.
Unlike binoculars, you cannot just point a new telescope in the general direction and be able to find what you are looking for unless everything has been properly aligned. Here’s some tips to help you have a successful start to the hobby of astronomy.
Align finders to the main telescope during the day before dark.
In order to point and find things in the sky, the finder must be aligned to the same point that the main telescope is viewing. There are two types of finder in use today, red dot and optical (small telescope with crosshairs). The finder, red dot or optical, must be adjusted mechanically to align with the main telescope’s field of view prior to first use under the stars. Using your lowest power eyepiece in the telescope, go into terrestrial mode to turn off sidereal tracking and have the slow motion controls operable. If you do not have a tracking mount, then just point the main tube at the top of some far away tower or telephone pole and tighten the locks on the axes to keep the telescope locked on the object. Look through the telescope and center the top of the object in the field of view. Make sure the telescope is locked on the object and does not move over time. Then carefully adjust the finder’s controls, usually a couple of knobs or screws to move the dot or crosshairs to be on the same object centered on the same spot the telescope is viewing. Make sure the main telescope did not move during your adjustments. Once you are happy with the alignment, test it by choosing a different object and looking through only the finder, point the telescope to something new. Look through the main telescope and you should be very close to what you pointed at using the finder. Computerless manual telescopes such as Dobsonians are totally reliant on the finders to locate objects. Having aligned finders will increase your success.
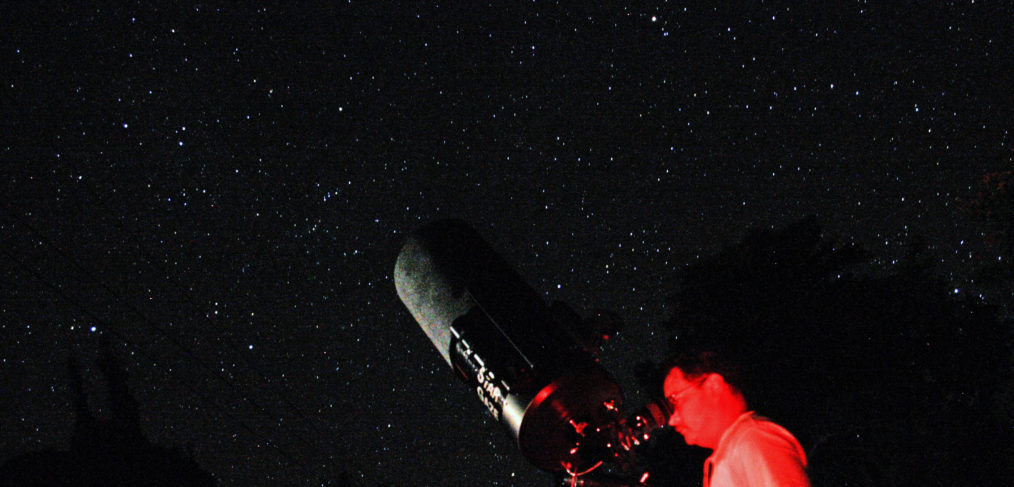
Move your telescope to your observing location.
Many require that you level the tripod. Most will have bubble levels built-in for that purpose. German equatorial mounts require that you point the polar axis (Right Ascension axis) to TRUE north. Use a compass, or cell phone app to point the mount during twilight. Or after dark, find Polaris and use it to align to north. The more accurate you are, the better the mount will track. Equatorial mounts also need to be set to your local latitude. There will be scales on the mount to help you set that approximately. Now wait for darkness.
Learn the telescope computer’s alignment procedure and prepare to execute it under the dark sky.
Many new telescopes are computerized. You need to know the names of the bright stars in the computer’s list to use for alignment. Also, know your latitude and longitude, date and the time of day and your Universal Time zone. Study star charts to learn where those bright stars are in the sky. Have your GPS coordinates handy, cell phones have apps for that. Know if your telescope works with local time or on Universal time. Turn on the mount and answer the startup questions. Usually, indexing the mount by aligning some markers, the date, time, time zone, daylight savings time, longitude and latitude, and method to align with. Do the alignment procedure. If successful, you may then begin choosing objects in the database to observe and the telescope will find things for you. Because no mechanical thing is perfect, it will be less and less accurate as the night proceeds and errors add up. Eventually, you will need to realign to regain accuracy. Many computers have a sync to star routine where you do not have to do the full process, but just center a bright star and sync the computer to it and accuracy will be restored for a while until pointing errors add up again.